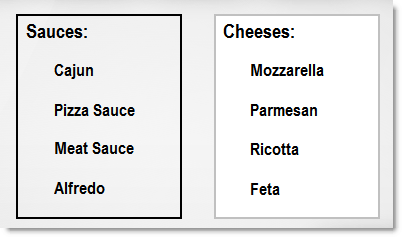
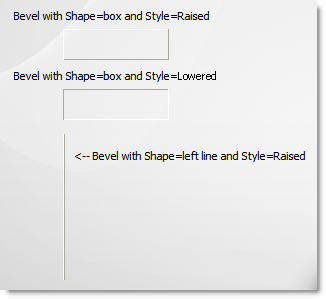
1.Open an existing panel in the Panel Designer 2.Click the Shape button  on the Components toolbar. on the Components toolbar. 3.Press and drag in the Panel Designer workspace to add the shape. 4.In the Components Property Editor, the Brush section controls the fill inside the shape, while the Pen section controls the border around the shape. Click the Expand  buttons to expand those sections of the Components Property Editor. buttons to expand those sections of the Components Property Editor. 5.Select a Shape Style of Unstyled.

|
Note Selecting a Shape Style of Shape Style 1 will result in a shape with a clear background and black border when the menu is loaded in Terminal. This style will override other font and background color settings in the components property editor.
|
6.In the Brush section, click the Style field and select bsClear from the drop-down list. This removes the fill inside the shape. 7.In the Pen section, click in the Background Color field and select a color for the outline from the drop-down list. 8.In the Width field, enter a width (in pixels) for the outline. 9.Click in the Shape field and select a shape for the outline from the drop-down list. 10.Reposition the outline, if needed. 11.On the File menu, click Close to close the Panel Designer. 12.Save the file and refresh Terminal to see your changes. |


 on the
