To add a custom Report Period (A period of time during which information is gathered for reporting purposes.), follow the instructions in the topic below. Standard Report Periods are set up automatically for you when the Fiscal Calendar Wizard is used. Report Periods can also be added or deleted.
To Add a Custom Report Period
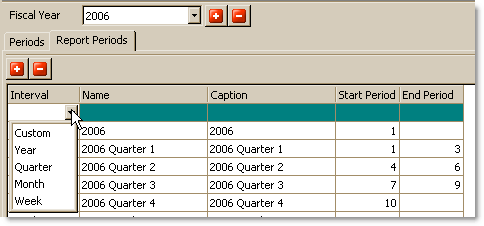
1.Go to the Settings> Inventory Settings> Periods ![]() > Report Periods tab.
> Report Periods tab.
2.Click the Add button. 
3.A blank line will be added at the top of the list. Click inside the Interval field to make the drop-down button  appear. Then select one of the drop-down selections (e.g., Year, Quarter).
4.Type in any appropriate information to the Name and Caption fields.

5.Click inside the Start Period field to make the drop-down button  appear and select a starting period from the periods that are listed.
6.Repeat this process to select an End Period for the Custom Report.
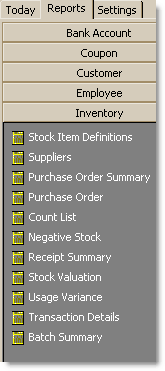
Custom Report Periods are available for printing through the Report Options Wizard, which is triggered when running any of the reports found in the Reports> Inventory group.

See Also:
