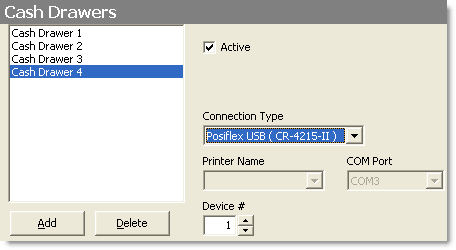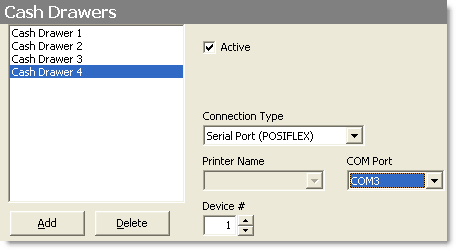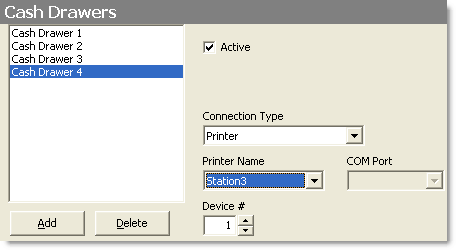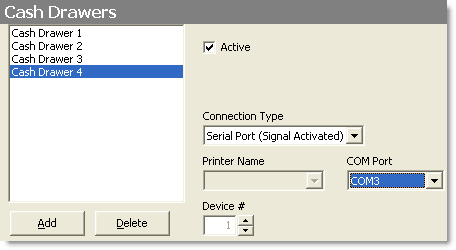
This topic explains how to set up a new cash drawer and assign it to one of your stations. Click the links to see instructions for each task.
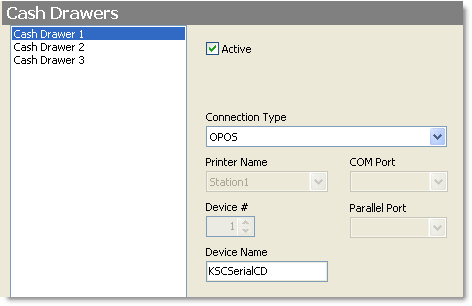
1.Go to Settings> Hardware> Cash Drawers. 2.Select a drawer in the list, or to add a new cash drawer, click the Add button 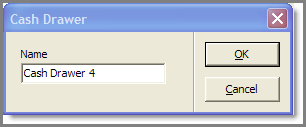 3.Select the Active check box. 4.In the Connection Type list, select the connection for your drawer. Click the links below to see examples of settings for the most popular connection types:
6.Once you have added and activated a drawer, you must assign it to one of your tender stations. See To Assign a Drawer to a Station, below. |
1. Go to the Settings> Hardware> Station Options 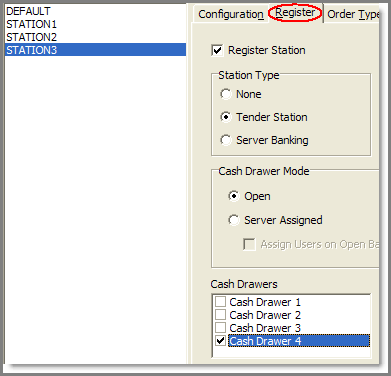 2.Select the station you want to assign the drawer to from the list on the left. 3.Select the Register Station check box and then select the following options: a.Station Type. If you will be putting tender into the cash drawer at this station, select the Tender Station option. For information on the other options, see Set Station Cash Drawer Options.
b.Cash Drawer Mode: i)If you do not want to assign specific employees to use the drawer (many people will be able to open it), select the Open option. ii)If you want to assign one or more people to use the cash drawer, select the Server Assigned option. Only assigned employees will be able to open the drawer. •Select Assign Users on Open Bank to be prompted to assign users to the cash drawer when a bank is opened for this station.
4.If the station will be used exclusively for “Quick Service,” where customers pay for their order before it is sent to the kitchen, select the Force Tender before Completion check box. 5.Assign the cash drawer to the station: in the Cash Drawers area, select the boxes beside the cash drawers that will be connected to the station. 6.On the Edit menu, click Save Changes. 7.Refresh Terminal to implement your new settings. |
See also:


