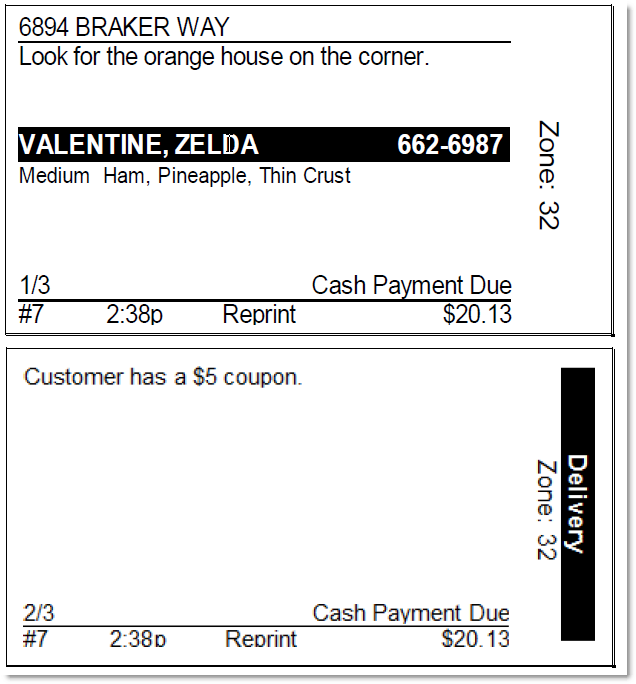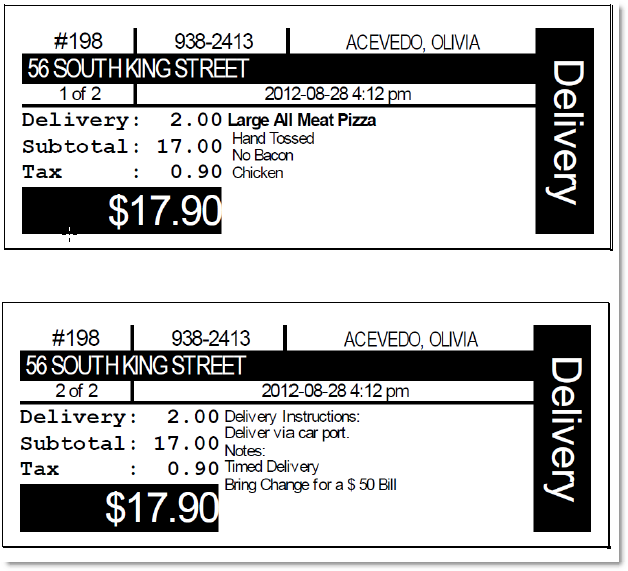
Item labels are printed on label printers to be placed on the packaging of your items. Some restaurants use labels in place of make tickets. This topic explains how to configure a label printer in Store Manager. To direct specific items in your menu to a label printer using make routes, see Set Printer Make Routes and Format Make Tickets.
To Set Up Label Printing
|
Note Printing labels requires a dedicated printer with label paper installed. See SpeedLine Supported Hardware & Software for a list of supported label printers. |
1.Go to the Settings> Hardware> Printers ![]() > Labels tab.
> Labels tab.
2.Select the label printer from the list on the left, and then select the Print Label check box.
|
Note If your label printer is not in the printers list, follow the instructions in the Add A Printer topic to add it. |
3.In the Format list, select the correct format for your size of labels.
|
Note Format 1 can be used with most printers, while formats 2 and 3 can only be used with Windows printers. |
4.Select the settings for your label format:
|
Note The paper width is specific to the printer model, and is set when a printer is added to SpeedLine. See Add a Printer. |
oFor Format 1 (4" X 1"):
•In the Height field, type 1 (1-inch high labels are printed).
•In the Separator field, enter the number of lines to leave between each label. This value should be found on the label packaging.
•For pickup orders, the customer's name prints under ticket information; for delivery orders, the name is replaced with the customer's address.
•There is no option to print delivery instructions or ticket notes.
•To add quoted time information, ensure that check box is selected in Order Type Ticket Print Options for the order types you are printing labels for.
oFor Format 2 (4" X 2"):
•Set the label height on the Device tab (see Add a Printer).
•To print ticket notes on a separate label, select the Print Ticket Notes check box.
•To add address, zone, or quoted time information, ensure those check boxes are selected in Order Type Ticket Print Options for the order types you are printing labels for.
oFor Format 3 (4" X 1.5"):
•Set the label height on the Device tab (see Add a Printer).
•Delivery Instructions and ticket notes will always print on a separate label, so the Print Ticket Notes check box is not available.
•To add address, city, or quoted time information, ensure those check boxes are selected in Order Type Ticket Print Options for the order types you are printing labels for.
5.Select which labels should be reprinted When Saving Modified Tickets:
•Reprint Labels for Modified Selections: will reprint labels only for modified items (this is the option typically selected).
•Reprint All Labels: will reprint labels for all items, and not only modified items.
6.Leave the Order Type option set to All, if you want to print labels for every order type. If you want labels to print only for certain order types, like deliveries, click Selected, and then clear the order types you do not want to print labels for.
7.On the Edit menu, click Save Changes.
8.Refresh Terminal to implement your new settings.
See also:
•Set Ticket Print Options by Order Type
•Set Content of Tickets for Each Order Type


